How to use our Admin Tools
A software administration tool functions as a centralized command center for overseeing system configurations, managing user accounts, and streamlining operational processes. It enables administrators to customize the platform based on organizational needs, such as defining user roles, setting access levels, and implementing security measures. Key features often include dynamic dashboards for real-time insights, comprehensive activity logs for audit tracking, and dependable solutions for data backup and recovery. Many of these tools also facilitate seamless integration with external platforms, promoting smooth data flow and connectivity. By simplifying complex project management tasks and offering granular control, administration tools help ensure robust security, operational efficiency, and a seamless user experience.
Creating Customized Terms and Conditions
Using Saved Terms & Conditions
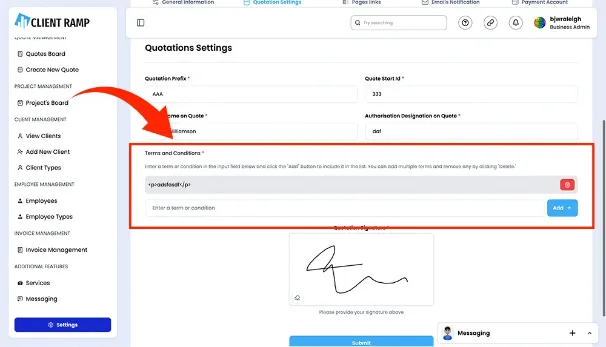
You can access your custom Terms and Conditions in two ways within your account. The first method is by navigating to the top right corner of the page, selecting "Business Admin", then going to "Business Settings", and finally clicking on the "Quotation Settings" tab. In the "Terms and Conditions" section, you can add, manage, and store your terms for future use.
To add a new term or condition, enter it into the input field and click "Add" to include it in the list. You can add multiple terms as needed and remove any by clicking "Delete".
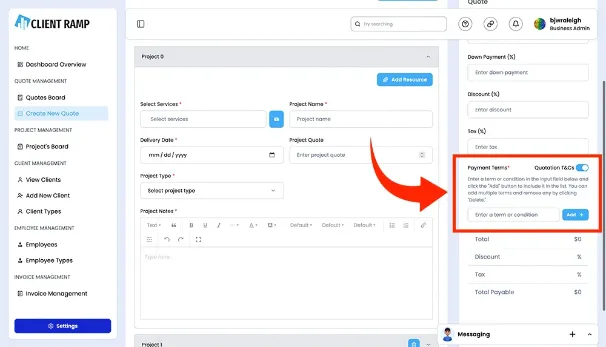
Creating Unique Terms & Conditions on Quote Page
If you need to add a term or condition outside of the "Using Saved T&Cs" template, simply type it into the input field and click "Add" to include it in the list. You can add multiple terms as needed and remove any by selecting "Delete". To access this section, navigate to "Create New Quote" or the "Quotes Board" from the left menu and locate the "Payment Terms" section to enter your terms or conditions.
Uploading Client Files
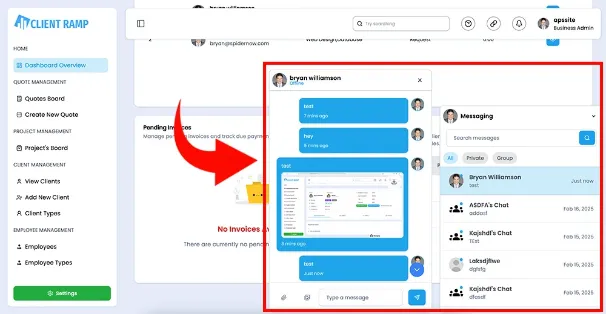
To send a quick message with an attachment or image to a client, go to the floating chat at the bottom of the screen. Select the person you want to send it to and send your message instantly.
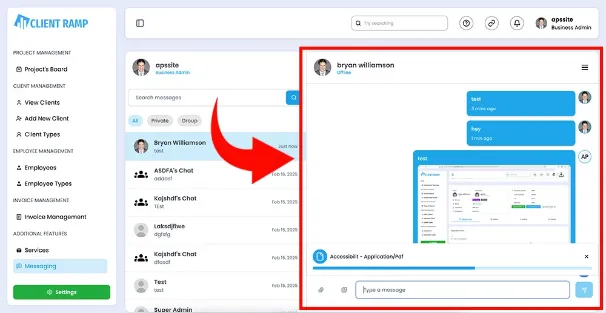
Floating Chat Messaging
For a quick view of all messages, go to the bottom right corner and click the floating message box. Select the recipient you want to message, then send text, files, or images directly to them.
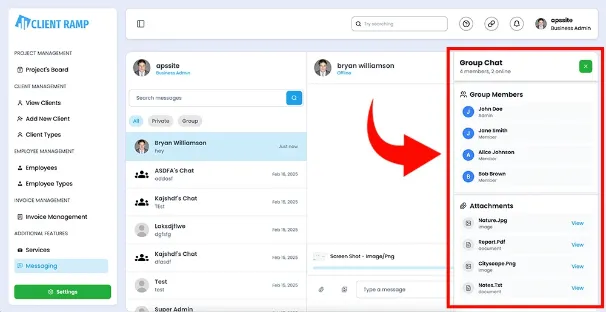
Group Messaging
To view all group chat members, click the hamburger icon in the top right corner of the chat. This will display a list of participants and any attachments shared in the conversation.
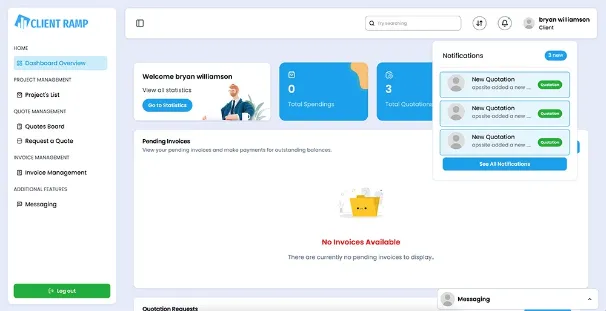
View All Notifications
You can get a quick view of your notifications by viewing the bill icon on the top of the right side of the page. This will give you a quicker review of the newest notifications that come in for you to review and see all incoming notifications, mark them as read, revisit quotations, or delete them as needed.